How To Add Images and Photo Credit on Snydle
Images are one of the elements of a post that makes it visually enticing to visitors. That’s why we encourage our writers to add images to their posts to attract more visitors to come and read their articles. There are specific guidelines to follow though.
Guidelines in Adding Images
1. As much as possible, you have to choose images from PUBLIC DOMAIN. What are public domain images?
2. If your article feature certain item, ideas, crafts and images from other website, make sure that they allow photo sharing or featuring. You must also make sure that you put credit and link back to their website (specifically to the post where you got the images/photos)
3. The standard images size we accept in snydle.com is 600 x 400 pixels. It can be 600×450, 600x410px, etc. as long as the width is fixed to 600 to 605 pixels. You may scale the images and shink it to the standard size using Windows Paint or Adobe Photoshop. The Image size must be 100kb and below.
How to Add Images and Credit to the Images
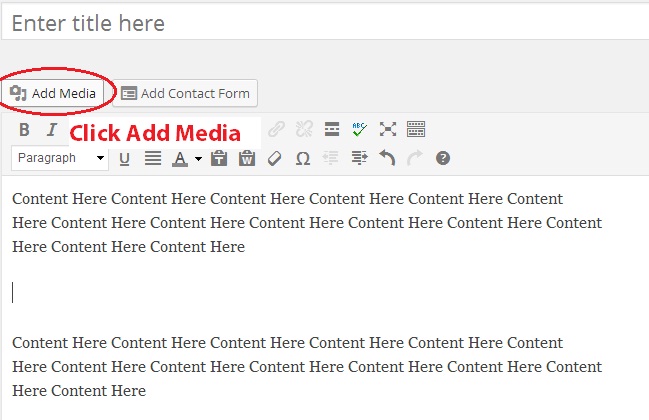
1. First, click “ADD MEDIA” in the upper left corner of your post dashboard. It should pop-up new window.
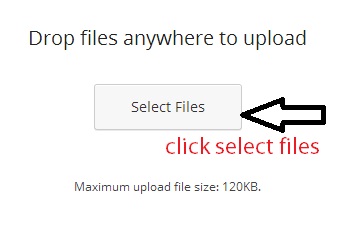
2. In the new window, click “Select Files”. It would open another window where you can choose the files you want to add. In my experience, I always save photos on my desktop so I can easily find it.
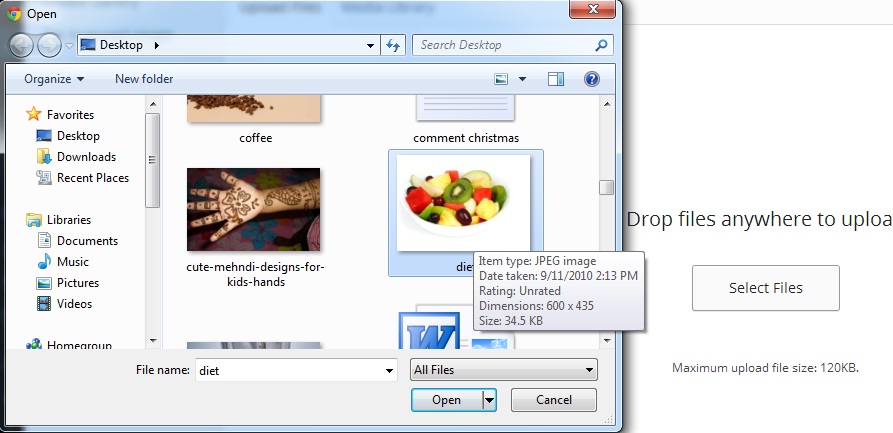
3. Select the image file and then click “open”.
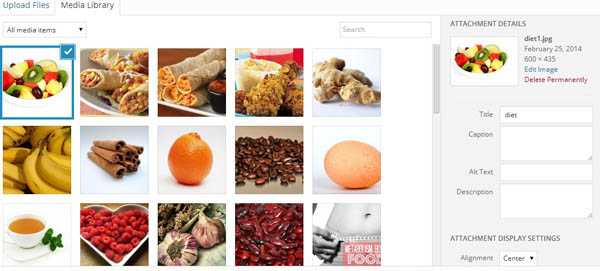
4. Look at the “ATTACHMENT DETAILS” on the right side of the media window.
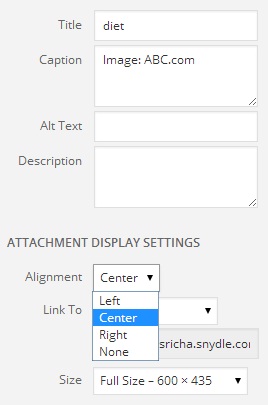
5. Add your caption. This is where you will put the image credits. You can write something like “Image Source” then the name of the website or the link. In above image, I used abc.com website. Then, choose the proper alignment of the photo. We usually use “center” and “full size” for the images (given that you already scaled the images to the standard size). Then click “INSERT INTO POST”.

6. To put the back link to the image source, highlight or click then drag to choose the word to put the link into. In this sample, I choose “ABC.com”. Then click the clip like icon in the post menu. It would open a pop-up window.
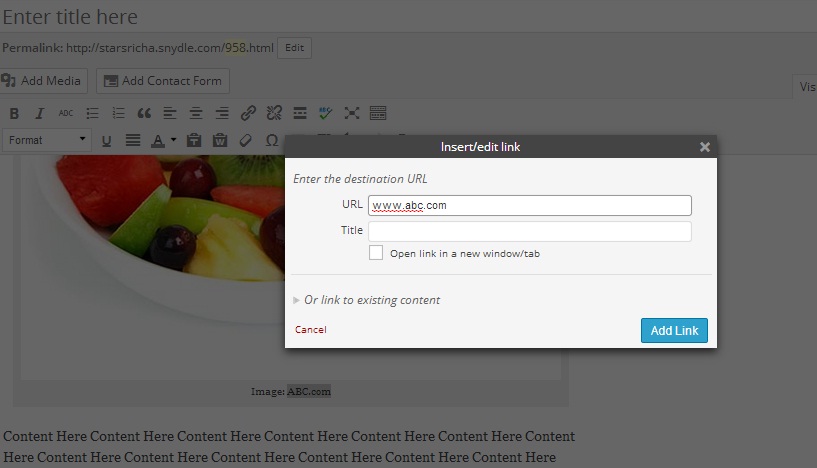
7. Then Put the link of the image source. One tip: don’t close the tab of the website where you get the image from. Copy and paste the link on that URL box.
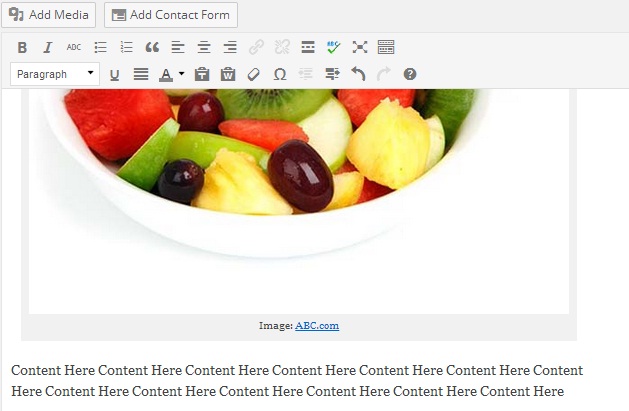
The final result should appear like this.
ANOTHER WAY:
You may also put the anchor link directly thru HTML codes instead of highligting and putting link. You just need to copy and paste this code and change the details as neccesary:
Image Source: <a href=”linkofthewebsite.com”>Name of the Website</a>
Example:
Image Source: <a href=”ABC.com”>ABC</a>

About Author
Prasad
Hello I am from Melbourne. Thanks for visiting us